


Hosting a website has never been as easy in the past as it is today due to the existence of so many free hosting companies. With a simple drag and drop, you can get your website deployed on the internet.
For the sake of this tutorial, we will be using Netlify to host our website with a free domain name.
First, you will need to create an account with Netlify
- Click on the signup button

- Select any of the signup option preferable
• GitHub • Gitlab • Bitbuck or • Email
After successfully registered, log in to your account and see the various features assigned to your account. The features are extremely ok for your personal projects.
To deploy your project, kindly:
Click on sites in the top nav menu
You will see a box with some text “Want to deploy a new site without connecting to Git? Drag and drop your site folder here”

- Kindly go to your working directory and drag the folder which contains your web pages (HTML, CSS files, or JavaScript) and drop on the box
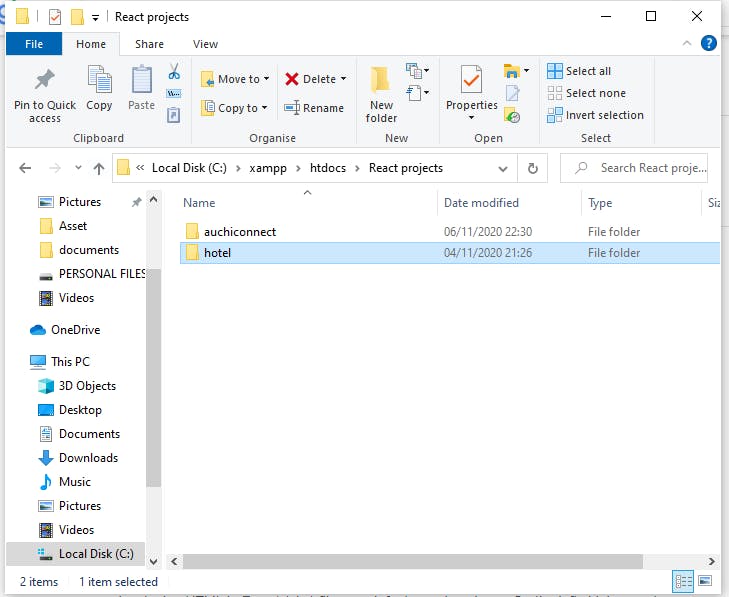
It will take one or two seconds after which a message will be displayed at the top showing the time at which it was deployed with a link to view it online.

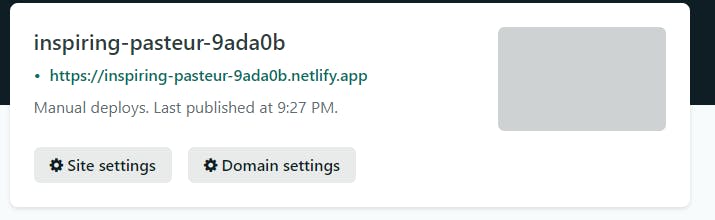
How to create a customized domain name for your site using netlify
The automatically generated domain name can sometimes be awkward and extremely hard to remember. This can be modified to any name of your choice as long as it is available.
- Just click on the Domain settings button
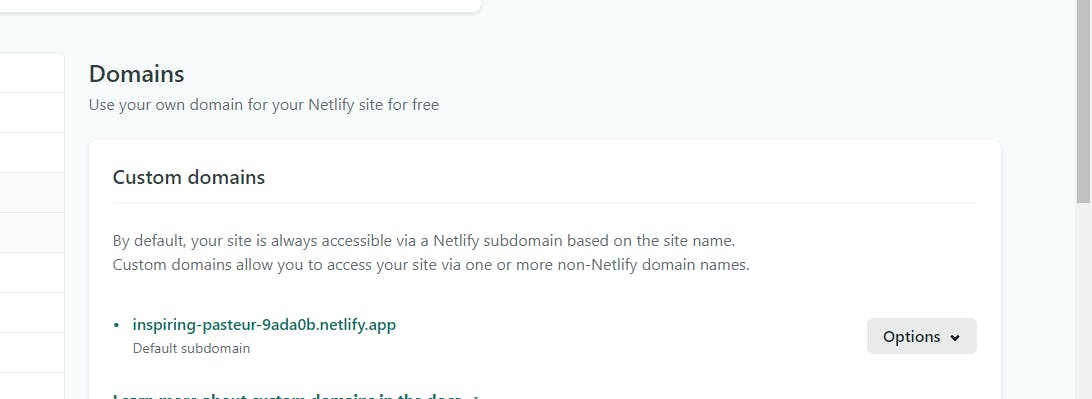
Scroll to custom domains and click on the option button
Then select Edit site name
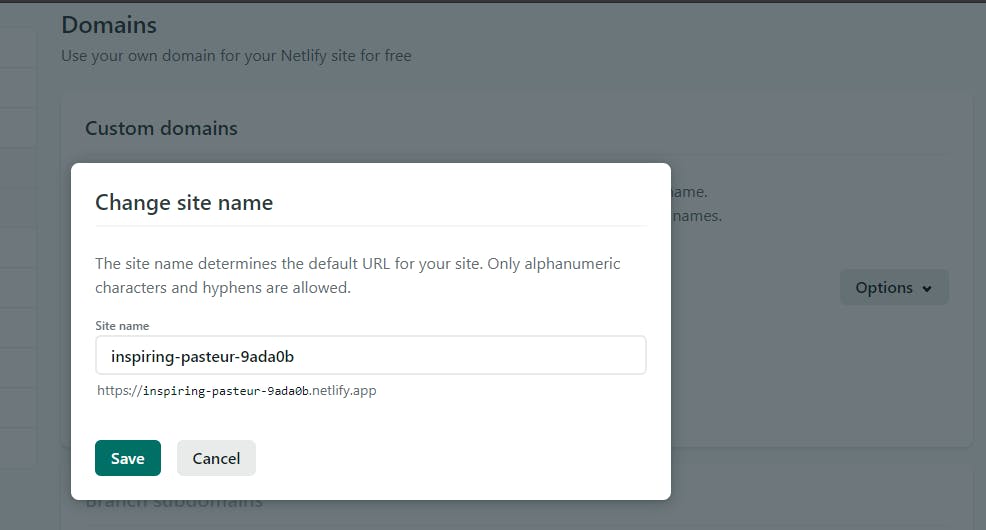
- Enter a new site name and save